Need more free space at your home? Adding an attic ladder to your home is a fantastic way to enhance accessibility and maximize storage space.
Recently, we've had a flood of requests for details about the attic ladder installation. We will try to tell you about this process in a few points.
While the prospect of installing an attic ladder may seem daunting, with the right tools, materials, and our step-by-step guide, attic ladder installation can be a rewarding do-it-yourself project. In this article, we will provide a comprehensive step-by-step guide for beginners looking to install an attic ladder themselves. So... roll up your sleeves and let's get started!
Attic Ladder Installation Steps
Step 1: Safety First
Before embarking on any DIY project, safety should always be a top priority. Ensure you have proper protective gear, such as gloves and safety glasses, to avoid any injuries during the installation process. Additionally, be cautious while working on a ladder and ensure it is stable and secure.
Step 2: Measure and Prepare
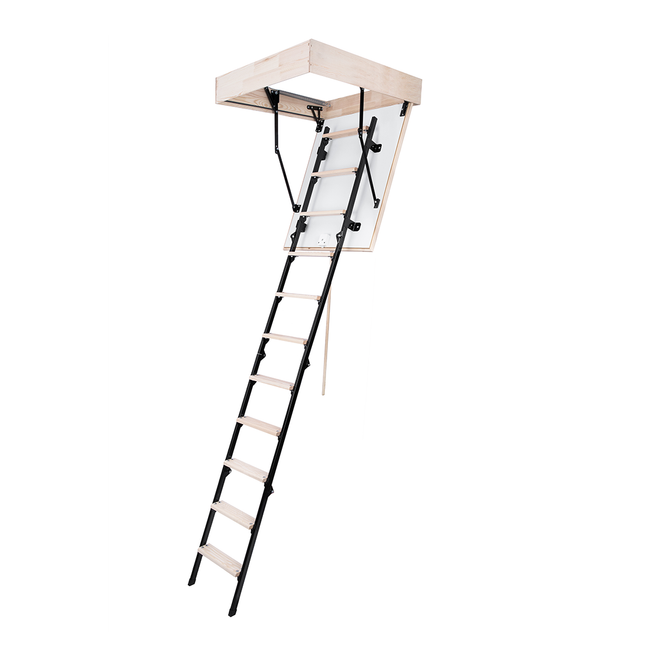
Begin by measuring the dimensions of the attic opening to determine the appropriate size of the ladder. It's crucial to choose a ladder that fits the available space. Once you have the measurements, gather all the necessary tools and materials, including the attic ladder kit, screws, drill, tape measure, saw, and a helper if needed.
Step 3: Clear the Area
Clear the area around the attic access point, removing any obstacles or debris. This will create a safe and unobstructed workspace for the installation process.
Step 4: Mark and Cut
Position the ladder frame in the attic opening and mark the areas where you need to cut the ceiling joists to accommodate the ladder. Carefully follow the manufacturer's instructions and use a saw to make the necessary cuts. Take caution not to damage any electrical or plumbing lines that may be hidden in the ceiling.
Step 5: Install Support Boards
Attach support boards between the ceiling joists to provide a sturdy framework for the ladder. These boards will distribute the weight and ensure a secure installation. Use screws to firmly attach the support boards in place.
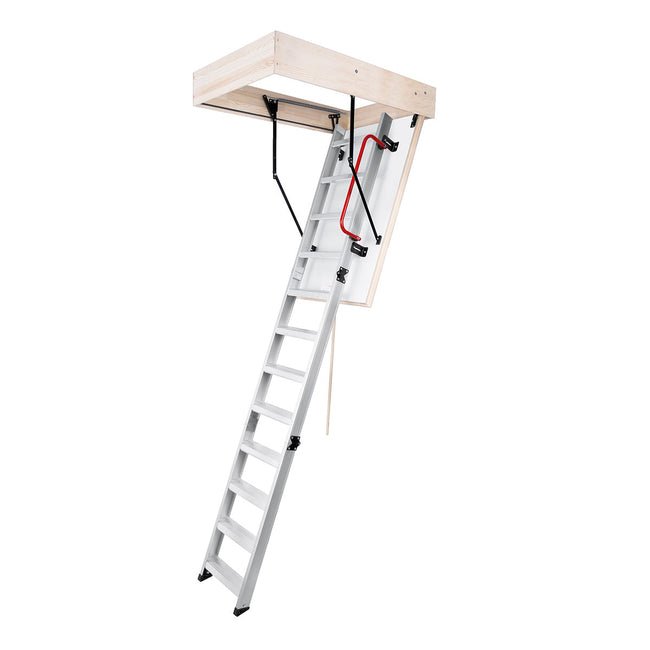
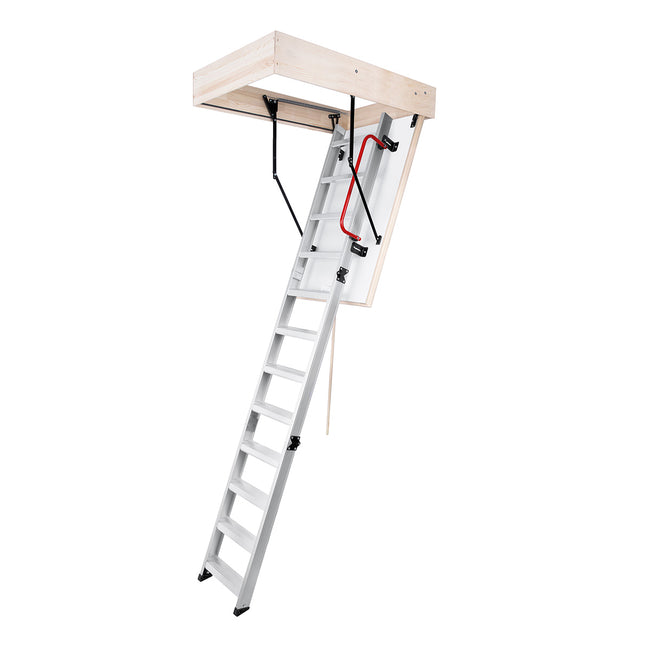
Step 6: Install Ladder Frame
With the support boards in position, carefully lower the ladder frame into the opening. Ensure that the frame is level and aligned correctly. Secure the ladder frame to the support boards using screws provided with the kit. Ready?
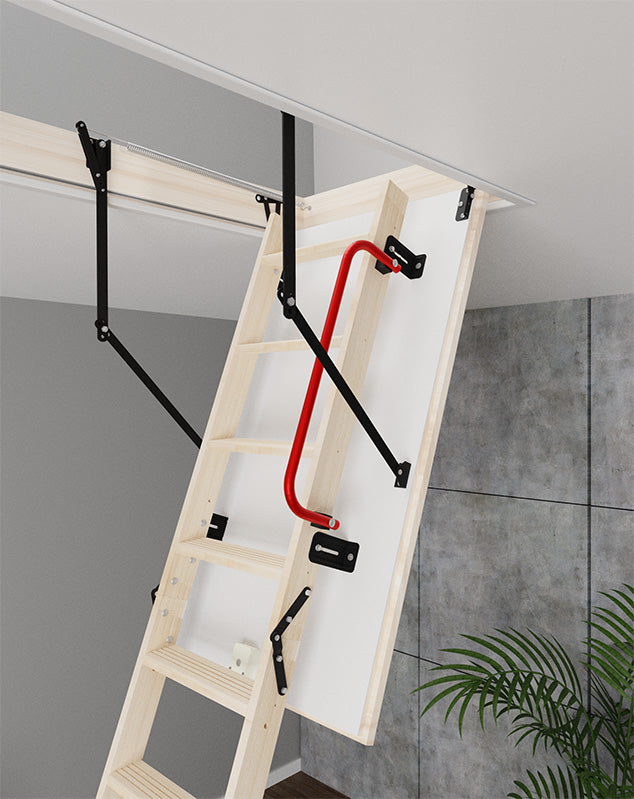
Step 7: Attach Ladder Sections
Following the our instructions, attach the ladder sections to the ladder frame. This typically involves securing the ladder hinges and locks in place. Double-check that everything is properly aligned and securely fastened.
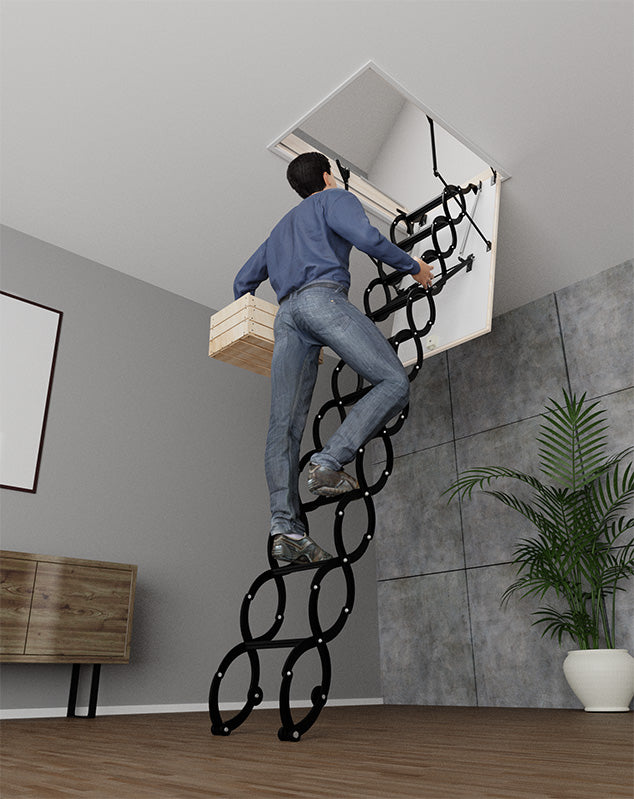
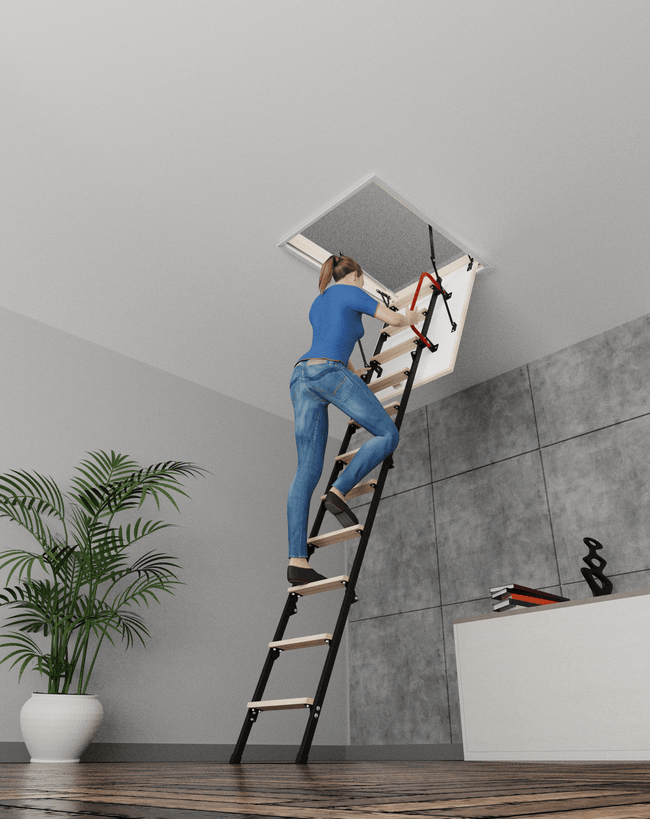
Step 8: Test and Adjust
Once the attic ladder installation process is completed, test it by pulling it down and retracting it several times. Check for any binding or sticking points, and make any necessary adjustments to ensure smooth operation. Lubricate the moving parts if recommended by the manufacturer.
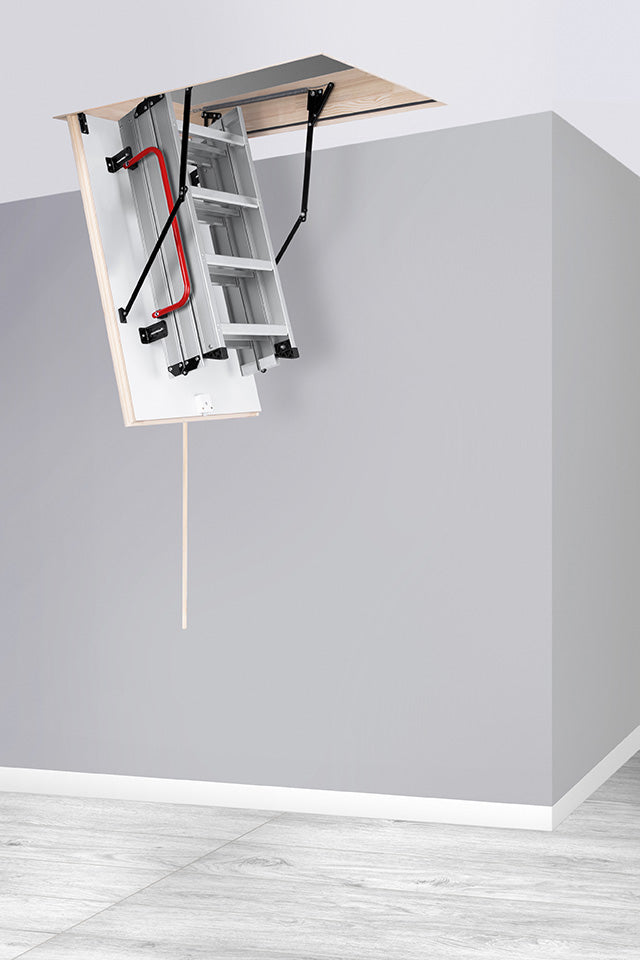
Step 9: Final Touches
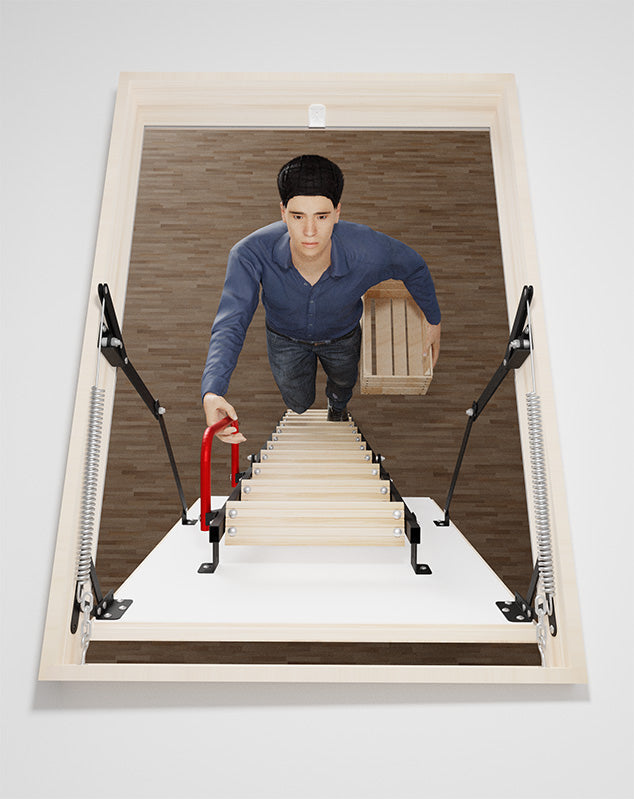
Lastly, give the area a final inspection to ensure everything is secure and in place. Clean up any debris or dust created during the installation process. Admire your handiwork and enjoy the convenience of your newly installed attic ladder!
Attic Ladder Installation - that was fun, wasn't it?
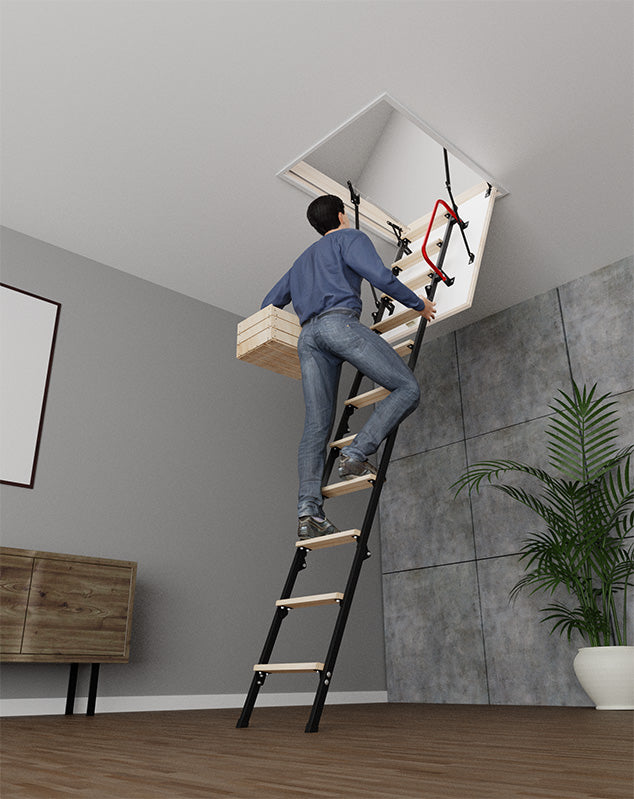
By following this step-by-step guide, even beginners (including you) can successfully install an attic ladder and enjoy the benefits of easy access to their attic space. Remember, safety is paramount, so take your time, carefully follow the instructions provided by the manufacturer, and seek assistance if needed. With a bit of patience and effort, you can transform your attic into a functional and accessible area for storage or even as an additional living space. Happy DIY-ing!